
Deploying Caddy on Ubuntu: A Complete Guide From Installation to Production
Summary
Caddy provides a modern, secure, and minimal-effort approach to hosting static websites and backend applications. Its automatic HTTPS management, simple configuration syntax, and powerful built-in modules allow even beginners to deploy production-ready services with confidence.
Introduction to Caddy
Caddy is an open-source web server written in Go, designed around simplicity and security. Unlike Nginx or Apache, Caddy automatically manages TLS certificates using Let’s Encrypt without requiring additional tools such as Certbot. It can serve static websites, reverse-proxy backend applications, handle security headers, manage compression, and provide enterprise-grade reliability with minimal configuration.
This guide covers:
Installing Caddy on Ubuntu
Understanding the file structure and service behavior
Creating a production-ready configuration
Hosting static sites and backend applications
Enabling automatic HTTPS
Logging, monitoring, and troubleshooting
Applying performance and security optimizations
By the end of this article, a beginner will be able to deploy a real application on Caddy confidently.
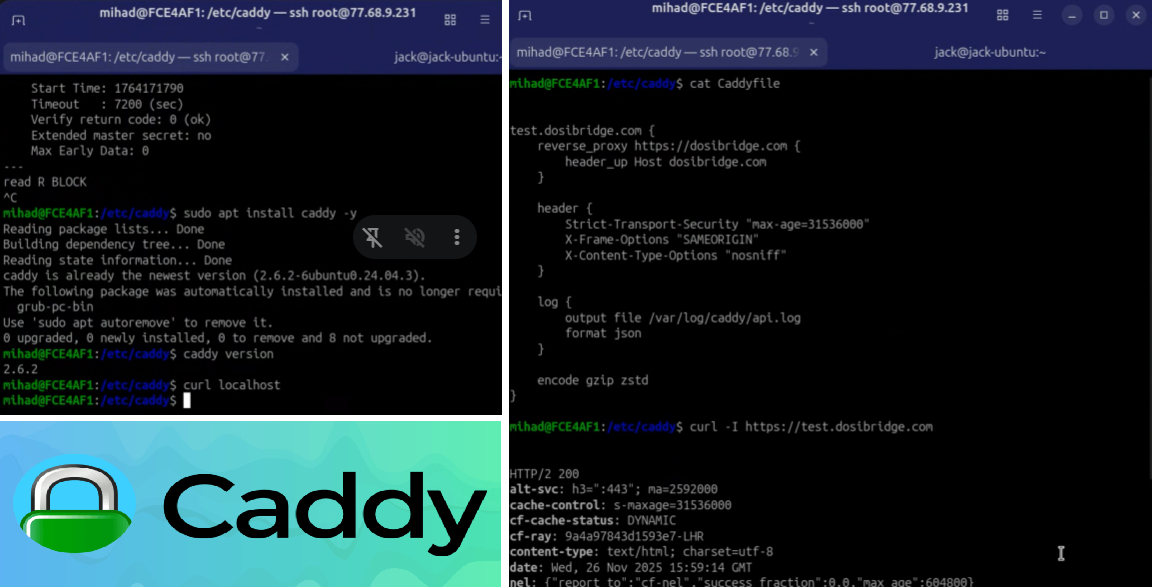
Installing Caddy on Ubuntu
Install the official Caddy package:
sudo apt update
sudo apt install caddy -y
Verify installation:
caddy versionOnce installed, Caddy automatically runs as a systemd service.
Understanding Caddy’s File Structure
Caddy uses two important locations:
/etc/caddy/Caddyfile– the main configuration file/usr/share/caddy– the default document root
To confirm the server is running:
curl localhostYou should see the default Caddy welcome page.
Preparing a Website Directory
Create a directory for your application or website:
sudo mkdir -p /var/www/mywebsiteAdd a simple HTML page:
echo "<h1>Caddy Production Setup</h1>" | sudo tee /var/www/mywebsite/index.htmlGive proper permissions:
sudo chown -R www-data:www-data /var/www/mywebsiteWriting a Production-Ready Caddyfile
Open the configuration file:
sudo nano /etc/caddy/CaddyfileA typical production configuration for a website with HTTPS, static file serving, compression, caching, security headers, and logs looks like this:
example.com {
    root * /var/www/mywebsite
    file_server

    encode gzip zstd

    @static_assets {
        path *.css *.js *.png *.jpg *.gif *.svg *.woff *.woff2
    }
    header @static_assets Cache-Control "public, max-age=31536000, immutable"

    header {
        Strict-Transport-Security "max-age=31536000"
        X-Frame-Options "SAMEORIGIN"
        X-Content-Type-Options "nosniff"
    }

    log {
        output file /var/log/caddy/example.log
        format json
    }
}
After saving the file, validate the configuration:
sudo caddy validate --config /etc/caddy/CaddyfileIf the validation passes, reload Caddy without interrupting traffic:
sudo systemctl reload caddyCaddy will automatically request and install an HTTPS certificate from Let’s Encrypt as soon as the domain resolves to the server.
Hosting a Backend Application With a Reverse Proxy
If your application runs on a port (for example, a Node.js server on port 3000), Caddy can act as a secure proxy.
api.example.com {
    reverse_proxy localhost:3000

    header {
        Strict-Transport-Security "max-age=31536000"
        X-Frame-Options "SAMEORIGIN"
        X-Content-Type-Options "nosniff"
    }

    log {
        output file /var/log/caddy/api.log
        format json
    }

    encode gzip zstd
}
Reload configuration:
sudo systemctl reload caddyCaddy will secure this endpoint with automatic HTTPS and forward traffic to the backend application.
Managing Caddy as a Systemd Service
Caddy runs as a long-running service in production. Key commands:
Check status:
sudo systemctl status caddyStart:
sudo systemctl start caddyStop:
sudo systemctl stop caddyRestart:
sudo systemctl restart caddy
Reload without downtime:
sudo systemctl reload caddyEnable on boot:
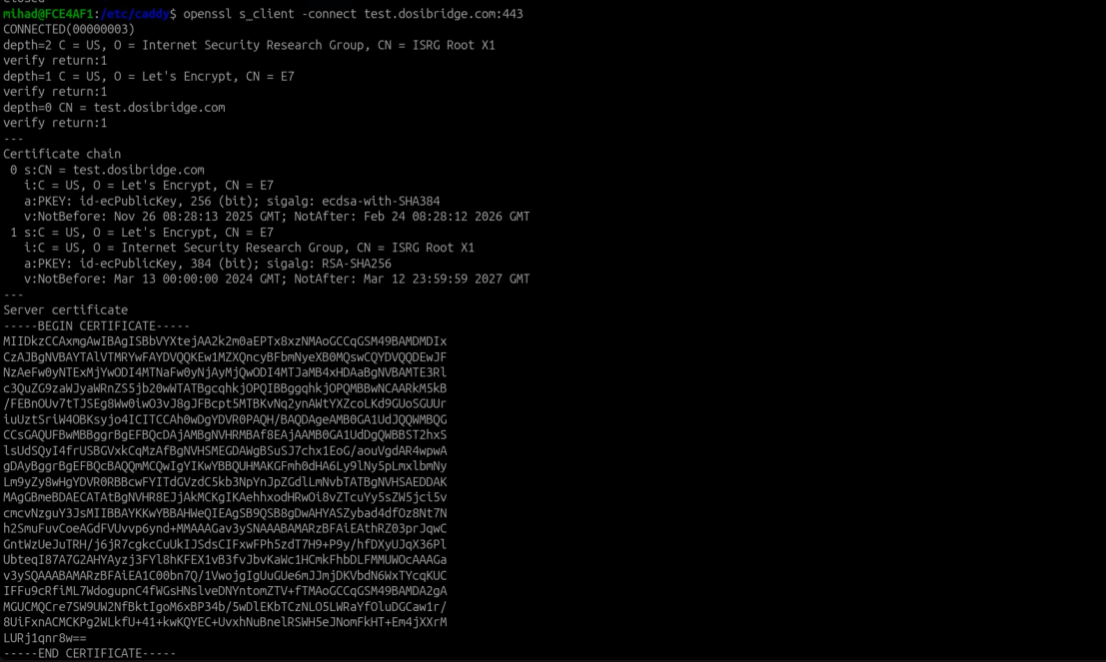
sudo systemctl enable caddyTo check ssl certificate
openssl s_client -connect example.com:443Output:
Logging and Monitoring
To view recent logs:
sudo journalctl -u caddy -n 50To monitor in real time:
sudo journalctl -u caddy -fIf Caddy fails to start, logs will usually show configuration or permission errors.
Performance Enhancements
Caddy offers built-in modules that improve load times and resource efficiency.
Compression
encode gzip zstdLong-Term Cache Headers
@static_assets {
    path *.css *.js *.png *.jpg *.gif *.svg *.woff *.woff2
}
header @static_assets Cache-Control "public, max-age=31536000, immutable"
TLS Optimization
Caddy automatically configures secure TLS settings. No manual tuning is required.
Security Best Practices
Enable HSTS
Strict-Transport-Security "max-age=31536000"Prevent clickjacking
X-Frame-Options "SAMEORIGIN"Prevent MIME sniffing
X-Content-Type-Options "nosniff"Use firewalls to restrict access
Allow only required ports:
sudo ufw allow 80
sudo ufw allow 443
Troubleshooting Guide
Check if Caddy is running:
sudo systemctl status caddyVerify syntax:
sudo caddy validate --config /etc/caddy/CaddyfileCheck conflicting services on ports 80 and 443:
sudo netstat -tulpn | grep :80
sudo netstat -tulpn | grep :443
Common issues:
Address already in use
Another service is using required ports. Stop or disable Nginx/Apache.
Certificate not issued
DNS not pointing correctly, or firewall blocks port 80.
Changes not applying
Use reload instead of restart for configuration updates.
Permission denied errors
Ensure directories belong to
www-data.
Conclusion
Caddy provides a modern, secure, and minimal-effort approach to hosting static websites and backend applications. Its automatic HTTPS management, simple configuration syntax, and powerful built-in modules allow even beginners to deploy production-ready services with confidence.
By following the steps in this guide—installing Caddy, writing a complete optimized Caddyfile, enabling security headers, tuning performance, and using proper logging—you can operate a reliable and professional-grade web server on Ubuntu with very little administrative overhead.